These videos provide quick reference information about commonly used EchoNavigator R4 functions. This material is not intended to substitute or replace the Operating Manual or Instructions for Use.
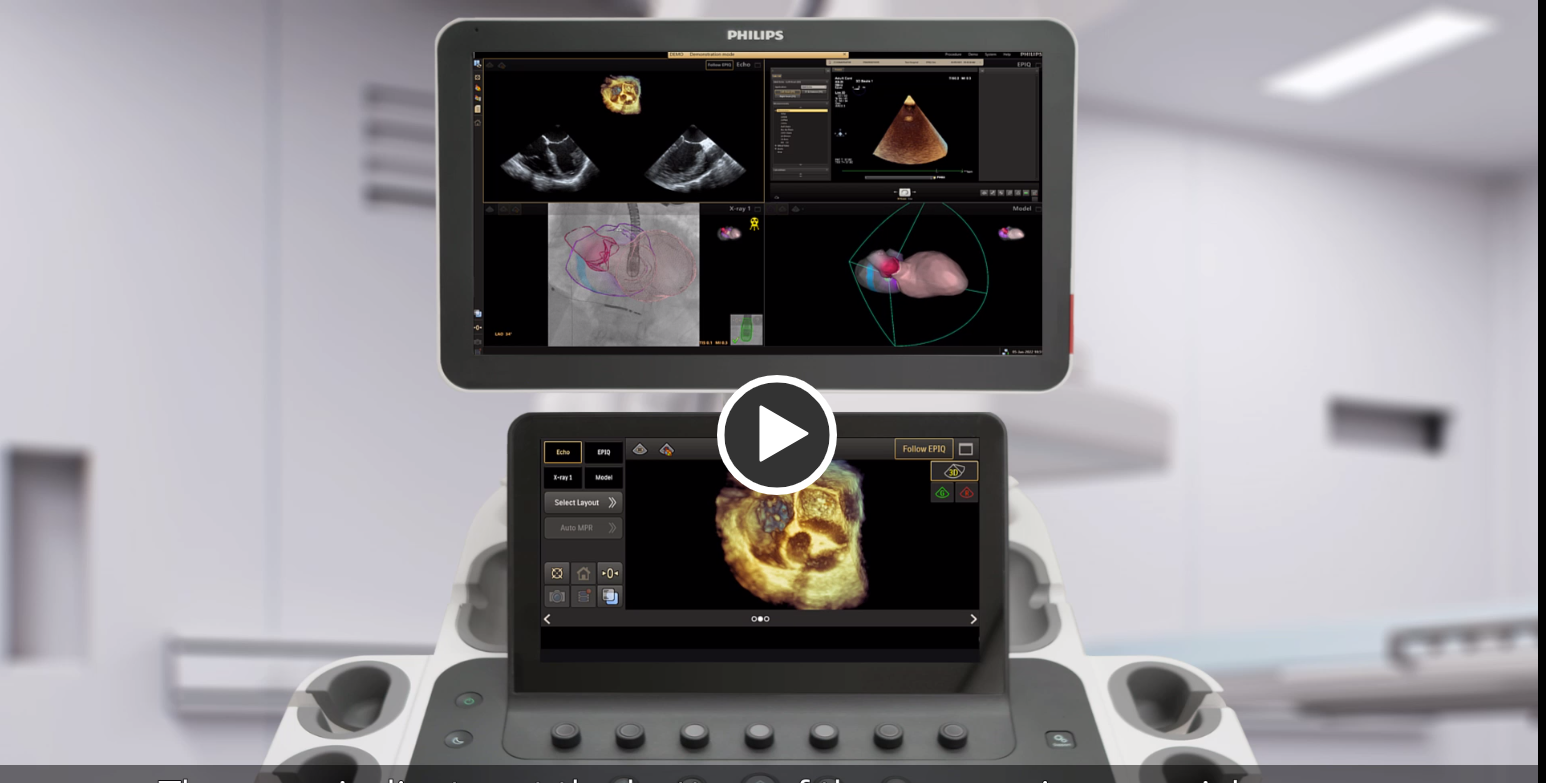
Set up EchoNavigator
When you select a patient on the EPIQ ultrasound system, the patient is automatically loaded to EchoNavigator.
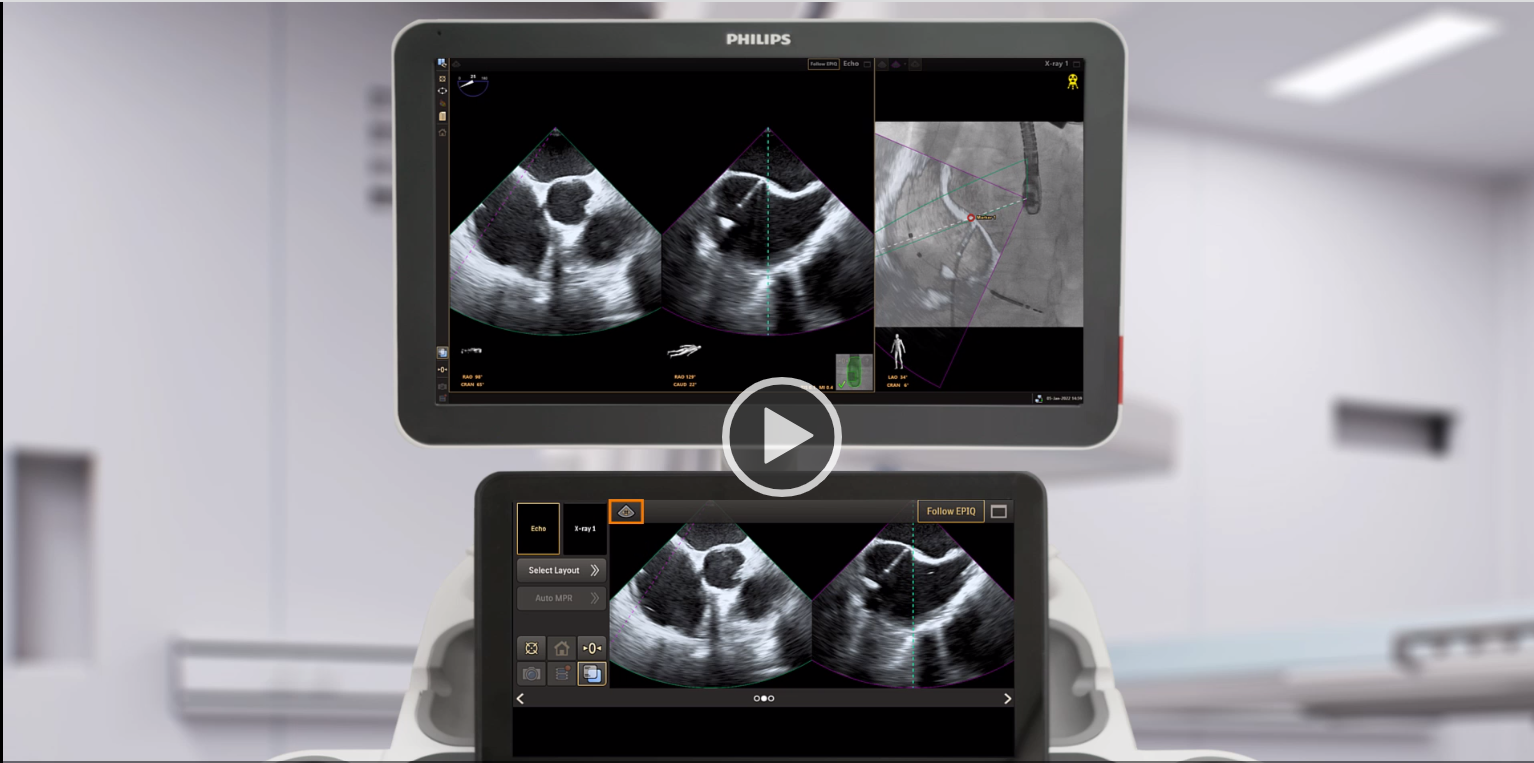
Placement of annotations
You can add annotations to the Echo viewport to indicate anatomical landmarks or regions of interest.

Interaction with overlays
In the X-ray viewport an overlay of the echo image can be placed on the X-ray image as a volume or an MPR slice in the cone.

2D fusion on the EPIQ touch screen.
In the X-ray viewport you can fuse in real-time the 2D echo images with the X-ray image in xPlane.
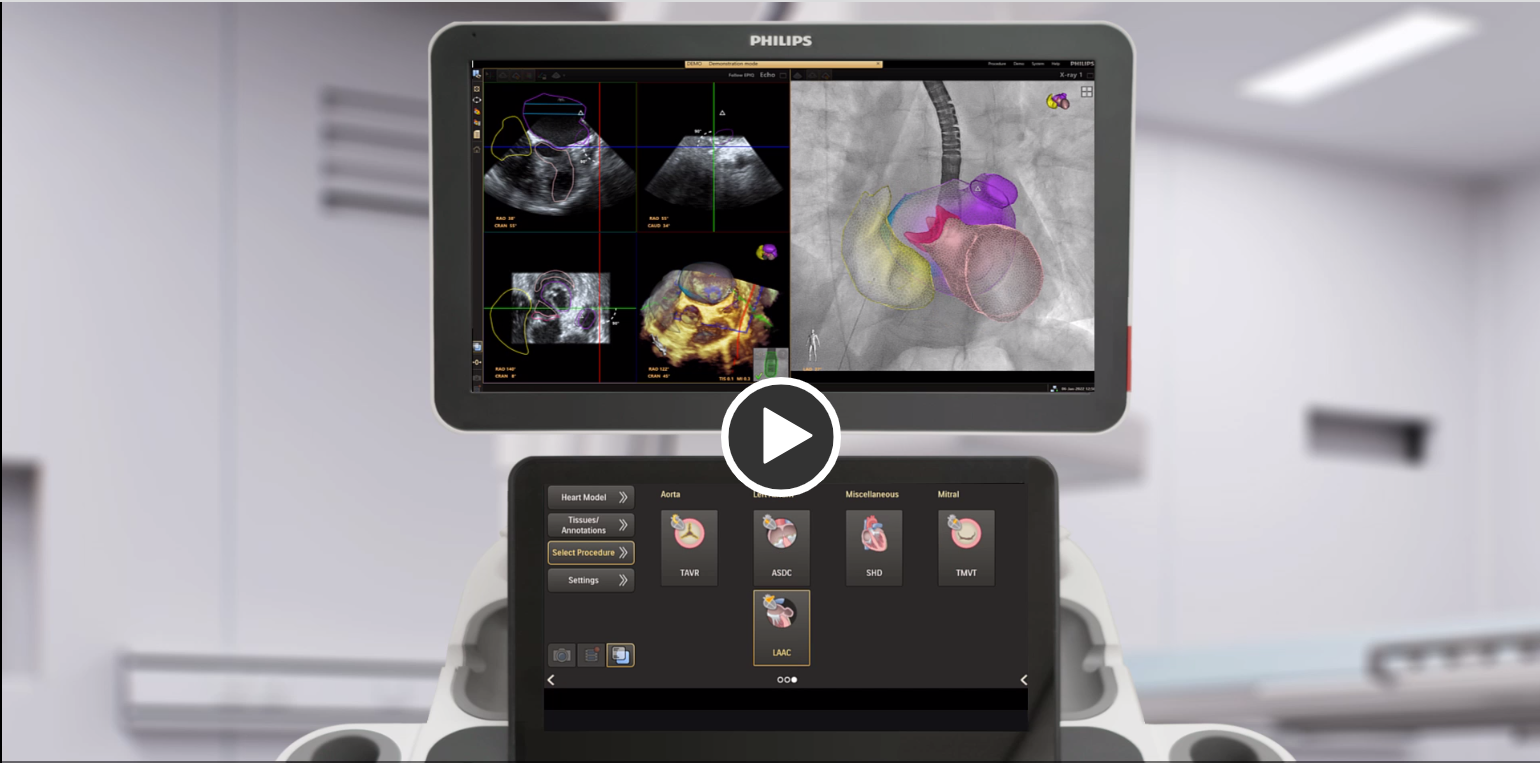
The Advanced page
The Advanced page on the EPIQ ultrasound system provides the following functions: Heart Model, Tissues and Annotations, Selecting Procedure type and Settings.
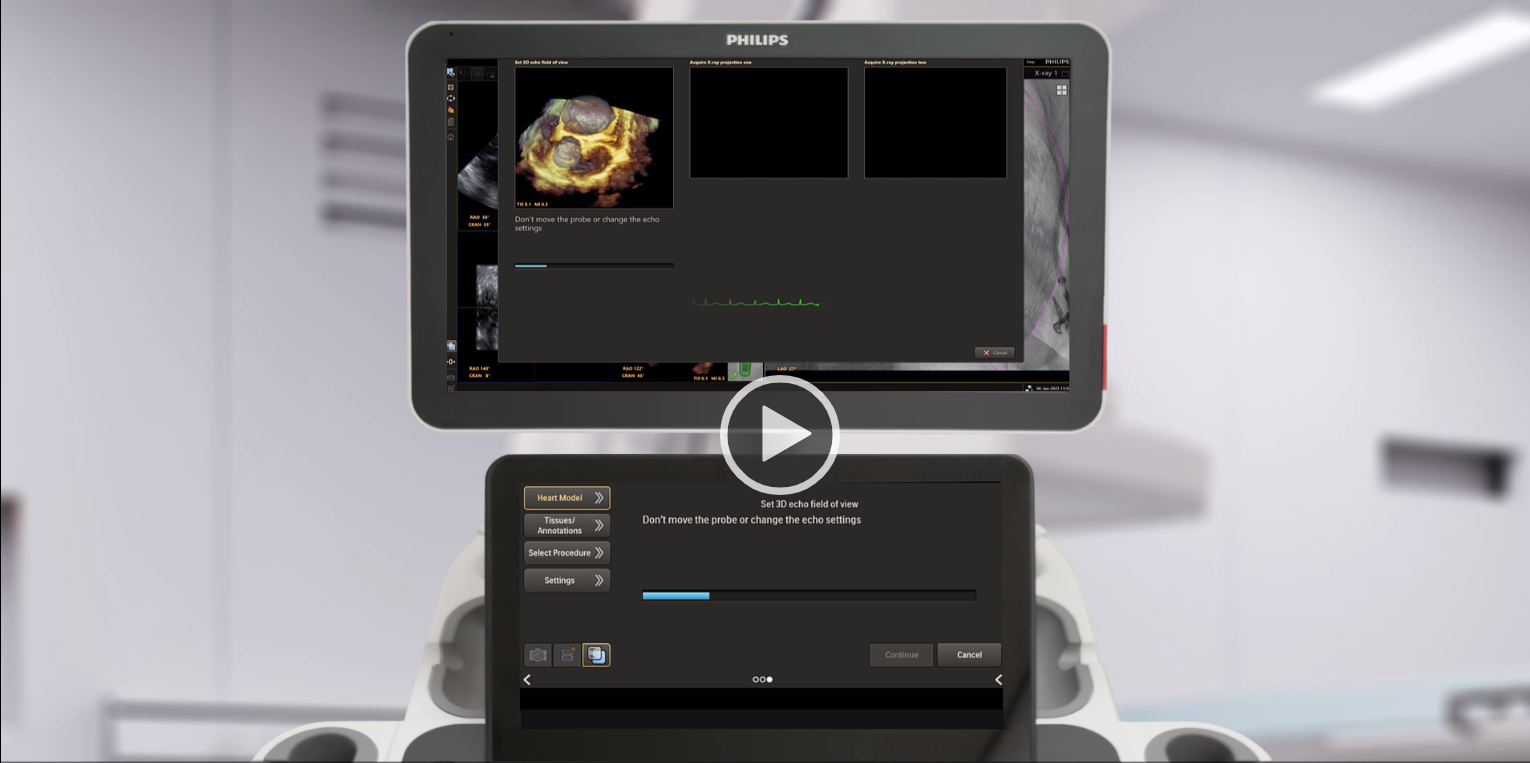
Creating a heart model
You can use the automatic segmentation function to create a heart model.
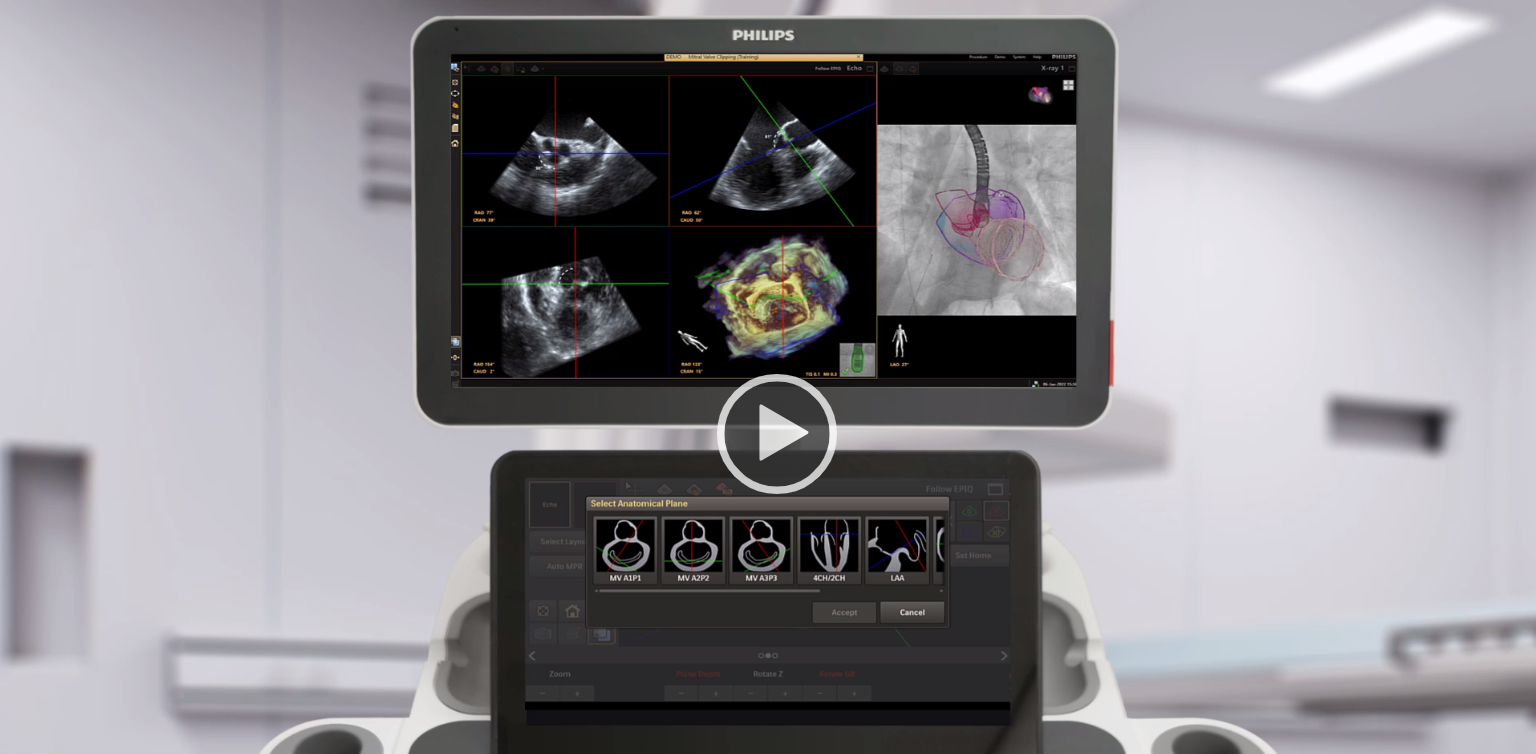
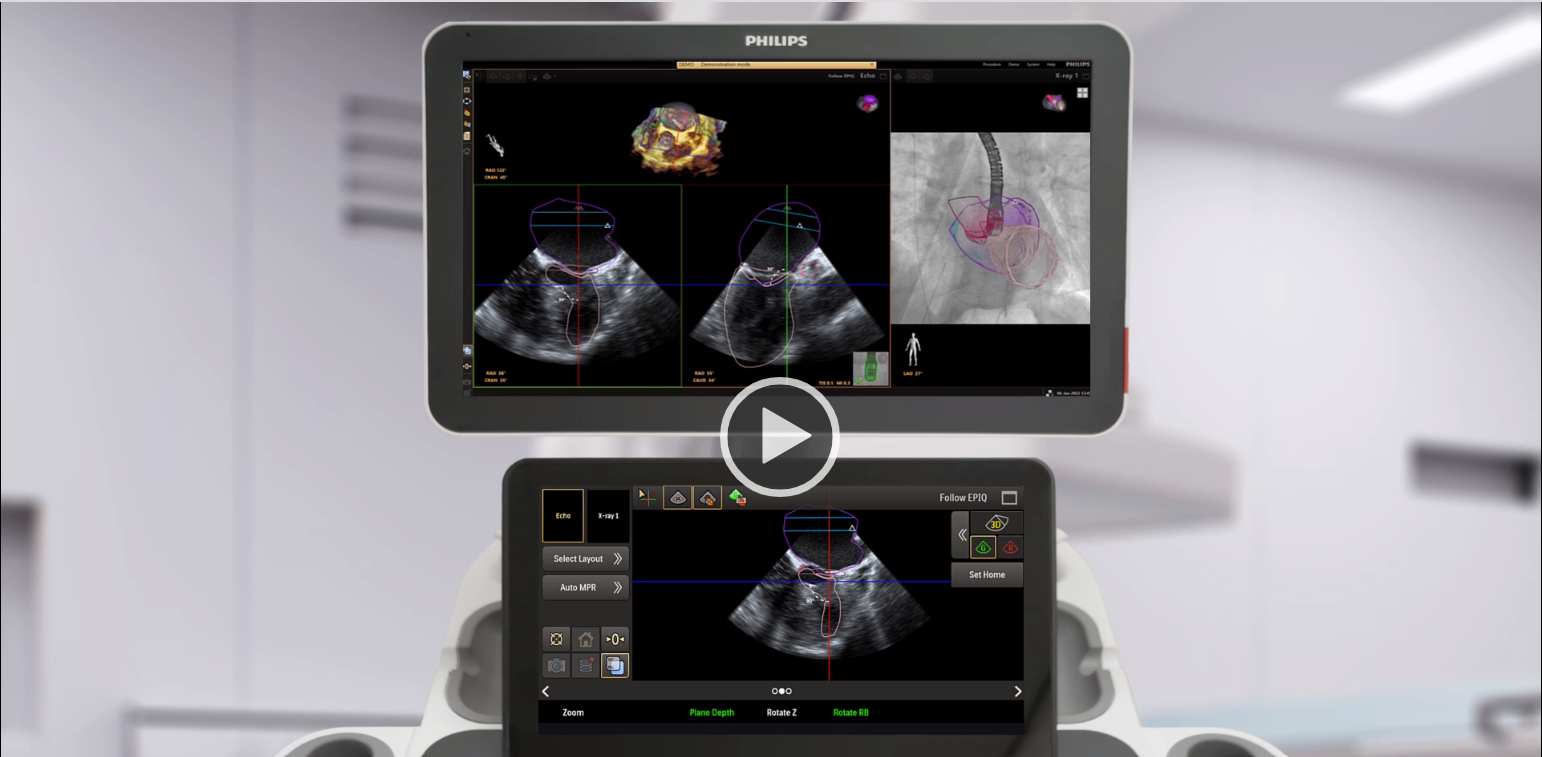
MultiVue
When you are viewing 3D echo images in the echo viewport, the MultiVue function displays the intersection lines on the 3D volume to indicate the position of the MPR slices.
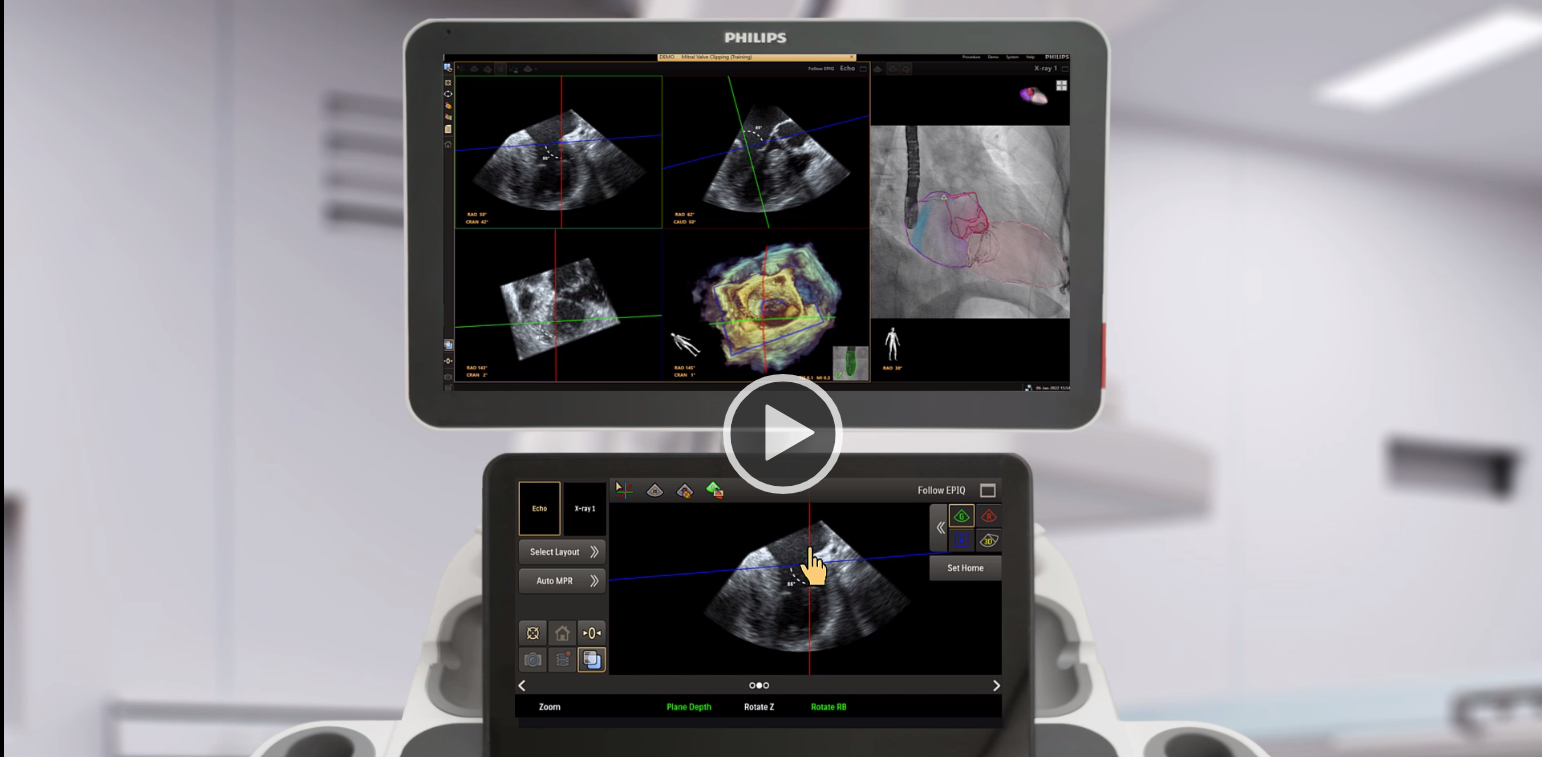
MultiVue interaction on the EPIQ touch screen
MultiVue is an MPR render mode from the EPIQ ultrasound system.
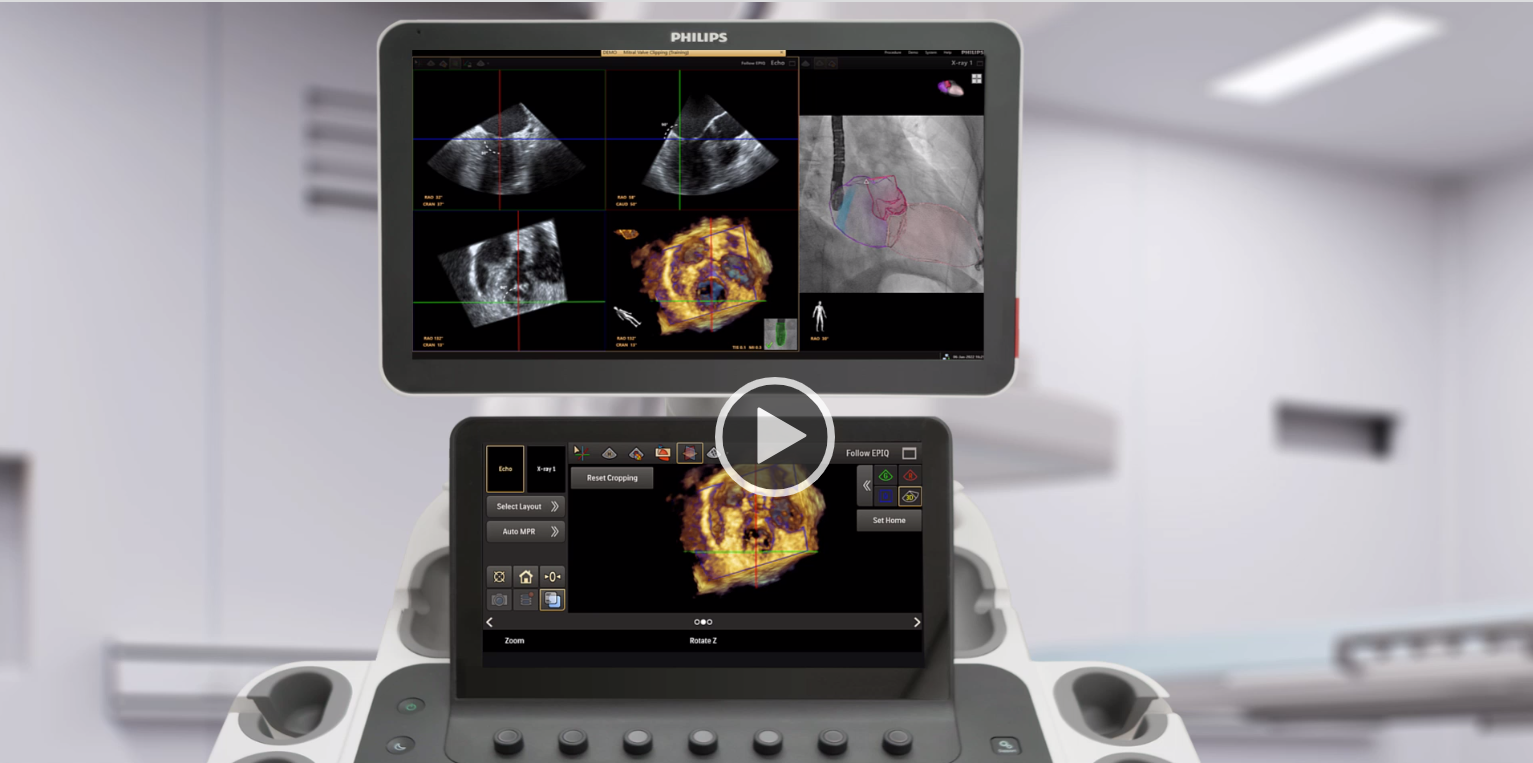
Crop in 3D
When viewing a 3D echo image, crop planes that have been applied using the EPIQ ultrasound system are displayed by default.
