DigitalDiagnost C50 Education Resources
A learning resource page for features and functions of the DigitalDiagnost C50
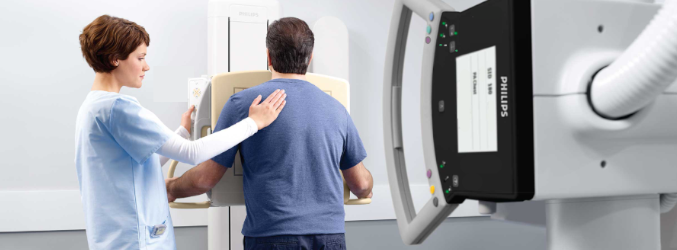
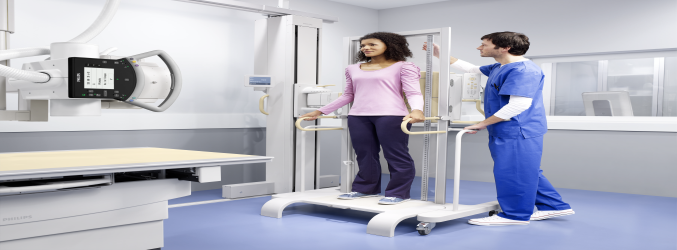
The DigitalDiagnost C50 is a performance oriented ceiling mounted digital X-ray system that delivers diagnostic quality images for fast, efficient exams. The DigitalDiagnost C50 offers versatility necessary to address a broad range of clinical applications in a cost-effective manner. Completing the modules below prior to using your system will help you understand the features and functionality of the DigitalDiagnost C50. You can access them at any time later for review. This material is not intended as a substitute for the Instructions for Use.
Basic System Introduction and Navigation
This system introduction course covers the startup and shutdown of your Eleva based system, how to navigate around the User Interface, and descriptions of functions located in the different areas to help you with an examination from start to finish.
DigitalDiagnost C50 Startup and Shutdown
Learn how to properly start-up and shutdown your DigitalDiagnost C50 system so that you can ensure long-term functionality.
Login and Logout of your Eleva Operator's Console
Learn how to successfully log in and log out of your Eleva Operator's console.
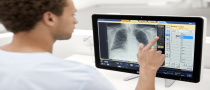
Navigating the Eleva User Interface (UI)
Observe how to navigate around the Eleva User Interface and identify what the different areas are for.
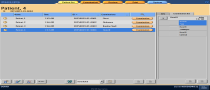
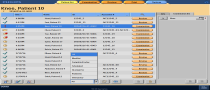
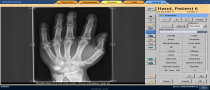
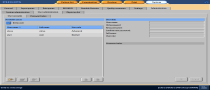
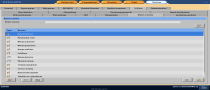
The Patient List Task Area
Observe how to locate the Patient List task area and identify what the different functions are.
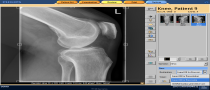
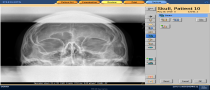
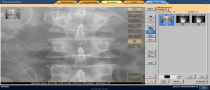
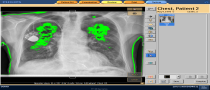
The Examination Task Area
Observe how to locate the Examination task area and identify what the different functions are.

The Integrated Generator Control Area
Discover what each of the settings in the Integrated Generator Control area is used for, and how it might affect your image acquisition.
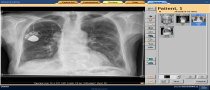
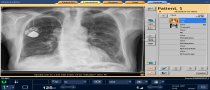
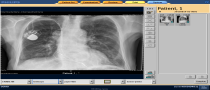
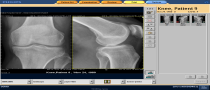
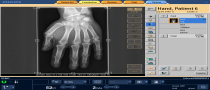
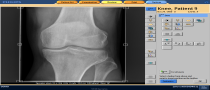
The Review Task Area
Observe how each of the different areas in the Review section functions and what they are used for.
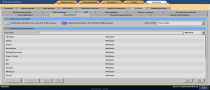
The Basics of the System Task Area
Discover how to locate the System task area and identify what different functions are available to you as a basic user.
The Print Task Area
Discover how you can select print and film parameters, layout images on preformatted print templates, and manipulate them.
Workflow-based Training for the Eleva Operator's Console
The Eleva User Interface Workflow course describes different workflow scenarios from everyday basic x-ray examination workflow to reprinting and resending images among other things.
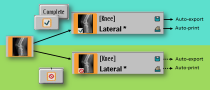
Workflow: AutoExport and AutoPrint
Find out what you need to know about the difference in workflow when confirming images and completing an examination with AutoExport and AutoPrint.
Worklist Selection
This tutorial describes this worklist selections, how they function, and the best way to utilize them for patients existing on the Eleva User Interface.
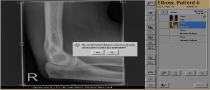
Rejecting Images During an Examination
Learn how you can give a reason and a comment when rejecting an image during the examination workflow.
Reprinting an Image
Review the steps necessary for printing images after the exam has been completed or how to reprint an image that has already been printed.
Adding an Image to a Completed Examination
This tutorial describes how to add a new image acquisition, either an extra view or a repeat, to a previously completed examination.
Resend an Image to the Archive
Review the steps necessary for resending an image to your archive.
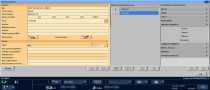
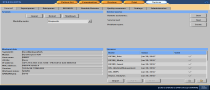
Add Patient Data Manually
Observe how to find the Manual Patient and Examination Data Entry section and watch a workflow based scenario on how to input the data.
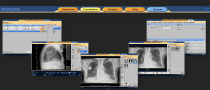
Eleva Operator's Console Post-Processing Tools
This Tools course covers the basics of all of the post-processing tools used for editing the acquired images on your system with the Eleva User Interface.
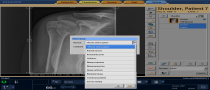
The Annotation Tool
Find out how to access the Annotation tool, and identify how to add Left and Right markers, labels, or annotations to your image.
The Rotation Tool
Discover how to use the Rotation tool to fix your orientation issues. Observe how to access the Rotation tool and identify how the different rotation tools can affect your image.
The Shutter Tool
Learn the importance of using the electronic shutters for image quality, where they are located, and how they are activated.
The Image Scaling (Zoom & Pan) Tool
Watch this short tutorial to learn how to easily find the buttons you need to zoom your image and pan around.
The Simple Ranger Tool
Gain the background knowledge you need on how the Simple Ranger tool works and why you might use it.

Using the Move Tool, Scenario 1
Discover what you need to know about using the Move tool when you are moving an image to a blank view within the same patient folder on the Eleva User Interface.
Using the Move Tool, Scenario 2
Observe using the Move tool to move an image within the same patient folder to a view with an existing image on the Eleva Platform.
Using the Move Tool, Scenario 3
Watch a demonstration of using the Move tool to move an image between different patient folders on the Eleva Platform.
Using the Move Tool, Scenario 4
This tutorial illustrates using the Move tool to move an image from a completed exam to an incomplete exam within the same patient folder.
Using the Move Tool, Scenario 5
Discover how to use the Move tool to move images between completed examination of two different patients.
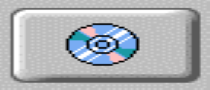
Adding Patient Images to a CD/DVD
This video tutorial illustrates the steps required to burn an image or examination to a compact disc (CD-R or CD-RW) or digital versatile disc (DVD) on the Eleva User Interface.
The Image Measurement and Calibration Tool
Learn how to access the Measurement tool and what steps are necessary to perform an image calibration and measurement.
Submit a Problem Report
This tutorial outlines what you need to know about creating a problem report in the Eleva User Interface using just one button.
Advanced Eleva User Interface and System Configuration Tools
The Advanced Eleva User Interface course is for SuperUsers only, and describes how to customize settings on the Eleva User Interface that will make specific workflow changes easier for your facility.

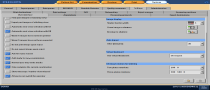
The Advanced System Task Area
Observe how to locate the System task area and identify what the different advanced user settings are that may assist you with improved workflow.
Adding New User Accounts
Review the steps necessary for adding new or editing existing user accounts in the system.
Configuring the Toolbar
Find out how easy it is to set the toolbar to your site’s requirements in both the Examination and Review sections of the Eleva User Interface.
Adding Pre-defined Annotations
Review the steps needed for customizing the annotations available to the users.
System Settings using AutoExport/AutoPrint - How These Settings Can Change Your Workflow
Discover the difference between AutoPrint and AutoExport as well as how these settings are affected when an image is rejected.
Customizing Reject Reasons
Review the steps needed for customizing the reject reasons available to the users.
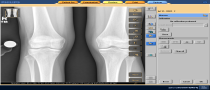
Stitching
The Stitching course describes what stitching is, how it works, why you use it and how to navigate around the Stitching Tool. There are some tips and hints on stitching workflow as well as how to manually stitch images together. Knowing how stitching works, how to set up, and how to acquire good stitching images is half the battle when it comes to creating diagnostic stitching images. Use this course to gain the confidence you need when just starting out with orthopedic stitching.
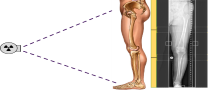
What is stitching?
Observe how to locate the System task area and identify what the different advanced user settings are that may assist you with improved workflow.
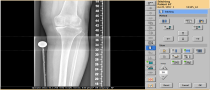
Navigating the Stitching Tool
Observe what each of the different buttons located in the Stitching tool are used for, and how each of them might affect your image manipulation.
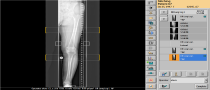
Basic Workflow for Manual Stitching Adjustments
Review the difference between minor and major corrections as well as the basic workflow for making these corrections.
Self-Learning Tool
The resources in this self-learning tool will help you get started, or can be used as refresher training for using your DigitalDiagnost C50 system.
Eleva Workstation (AWS) Product Training
This eLearning course is an overview of the Eleva User Interface enabling you to use the DigitalDiagnost C50 effectively.

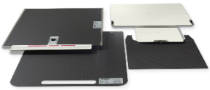
SkyPlate Product Training
Learn about the features and use of the SkyPlate with your system in this eLearning course.

SkyPlate Safe Handling
Keep your SkyPlate safe by watching this short video full of useful tips.
Introduction to Anti-Scatter Grids
A grid review for Philips digital imaging and general radiography. This course describes the construction and proper use of the grids in a digital X-ray environment.
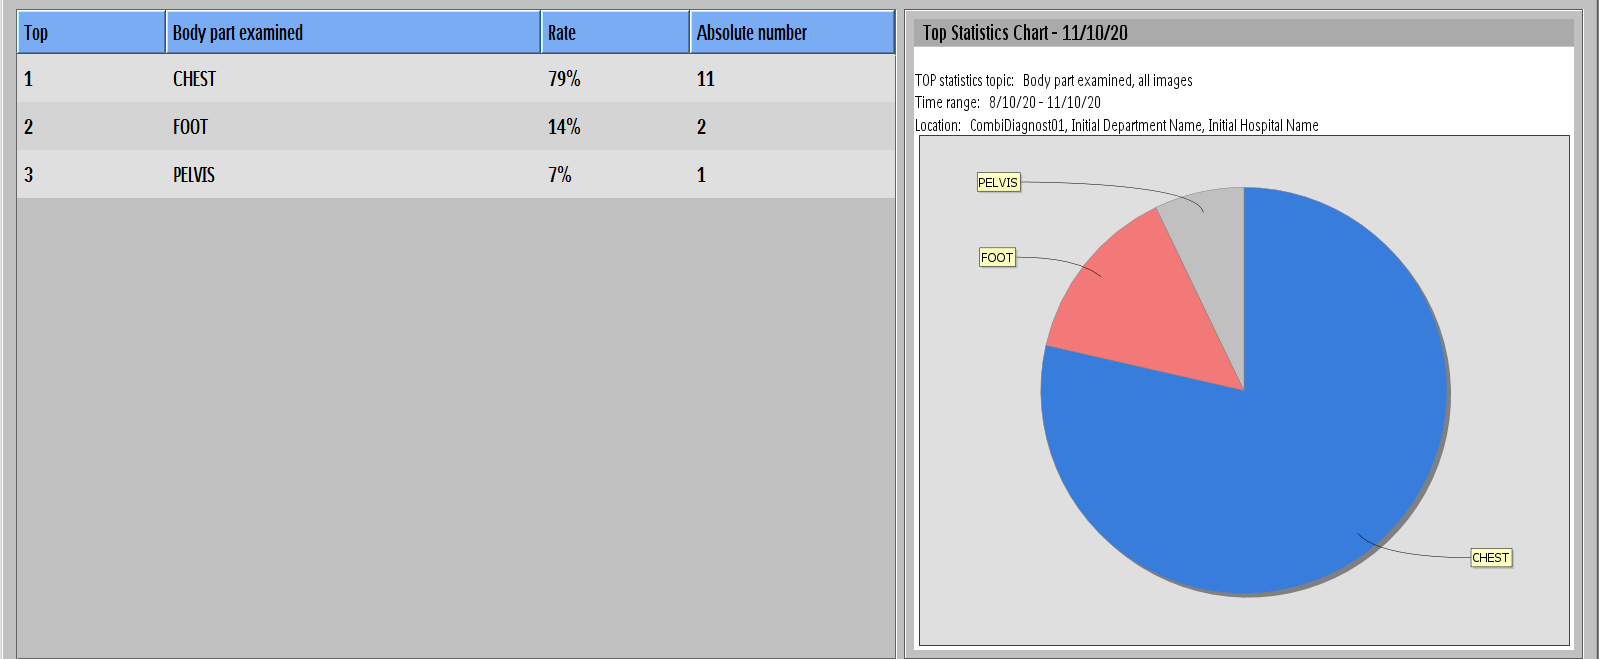
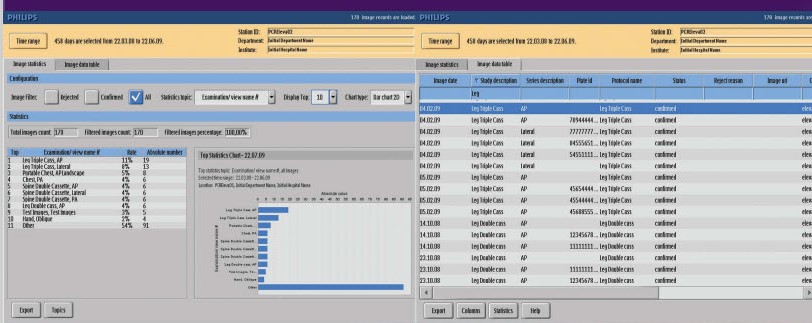
The Quality Assurance Tool
Use this guide to assist you in understanding how to feed the Quality Assurance Tool with input data from clinical routine work. This guide helps you understand what the tool is able to show and how.
Resources
These materials are here to guide and support the use of your DigitalDiagnost C50 system.
QuickStart Guide
You will find this downloadable guide full of QuickSteps to help you get started, or to use as helpful hints during your daily use of the DigitalDiagnost C50.
Stitching QuickReference Guide
Use the information in this guide to help you through setup and execution of a stitching examination on your DigitalDiagnost C50 system.
The Quality Assurance Tool QSG
The Quality Assurance Tool provides statistical analysis that is used for reporting, quality control, and improving workflow. This eLearning module walks you through how to use the Quality Assurance Tool.