DigitalDiagnost
Instructional Videos
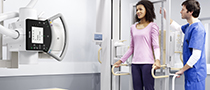
The DigitalDiagnost is a high-end direct digital radiography system with flat detector technology, which is based on modular components for all X-ray applications and workload requirements. The DigitalDiagnost is customizable to specific customer needs, depending on individual application requirements, room conditions, and budget flexibility. Your DigitalDiagnost can be scaled as a single, dual, or even triple detectors system, including full wireless DR or CR capabilities. Your DigitalDiagnost system is intended to support examinations on any kind of patient group. Such a system will be used for emergency patients, for in/outpatient clinics, pediatrics, and patients of all ages. View these tutorial videos below prior to using your system and access them at any time later for review. This material is not intended as a substitute for the Instructions for Use.
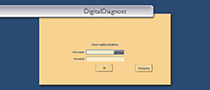
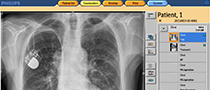
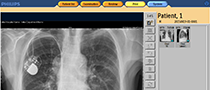
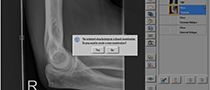
Basic System Introduction and Navigation
This system introduction course covers the startup and shutdown of your Eleva based system, how to navigate around the User Interface, and descriptions of functions located in the different areas to help you start an examination.
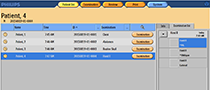
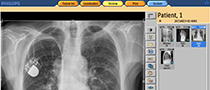
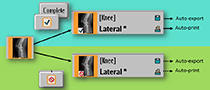
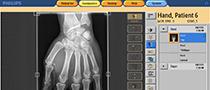
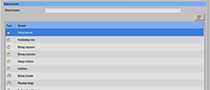
Workflow-based Training for the Eleva Operator's Console
The Eleva User Interface Workflow course describes different workflow scenarios from everyday basic x-ray examination workflow to reprinting and resending images among other things.

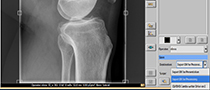

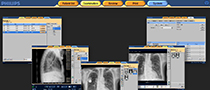
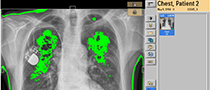
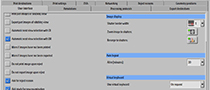
Eleva Operator's Console Post-Processing Tools
This Tools course covers the basics of all of the post-processing tools used for editing the acquired images on your system with the Eleva User Interface.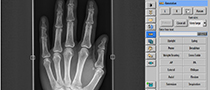


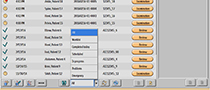
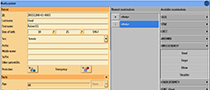
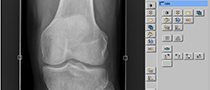
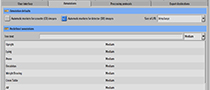
Advanced Eleva User Interface and System Configuration Tools
The Advanced Eleva User Interface course is for SuperUsers only, and describes how to customize settings on the Eleva User Interface that will make specific workflow changes easier for your facility.

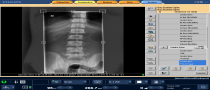
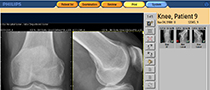
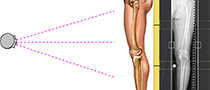
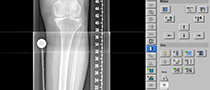
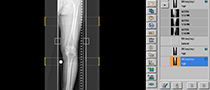
The Stitching Option
The Stitching course describes what stitching is, how it works, why you use it and how to navigate around the Stitching Tool. There are some tips and hints on stitching workflow as well as how to manually stitch images together. Knowing how stitching works, how to set up, and how to acquire good stitching images is half the battle when it comes to creating diagnostic stitching images. Use this course to gain the confidence you need when just starting out with orthopedic stitching.
Self-Learning Tool
The resources in this self-learning tool will help you get started or can be used as refresher training for using your DigitalDiagnost R4 system.
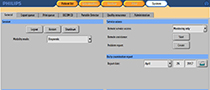
Quality Assurance Tool
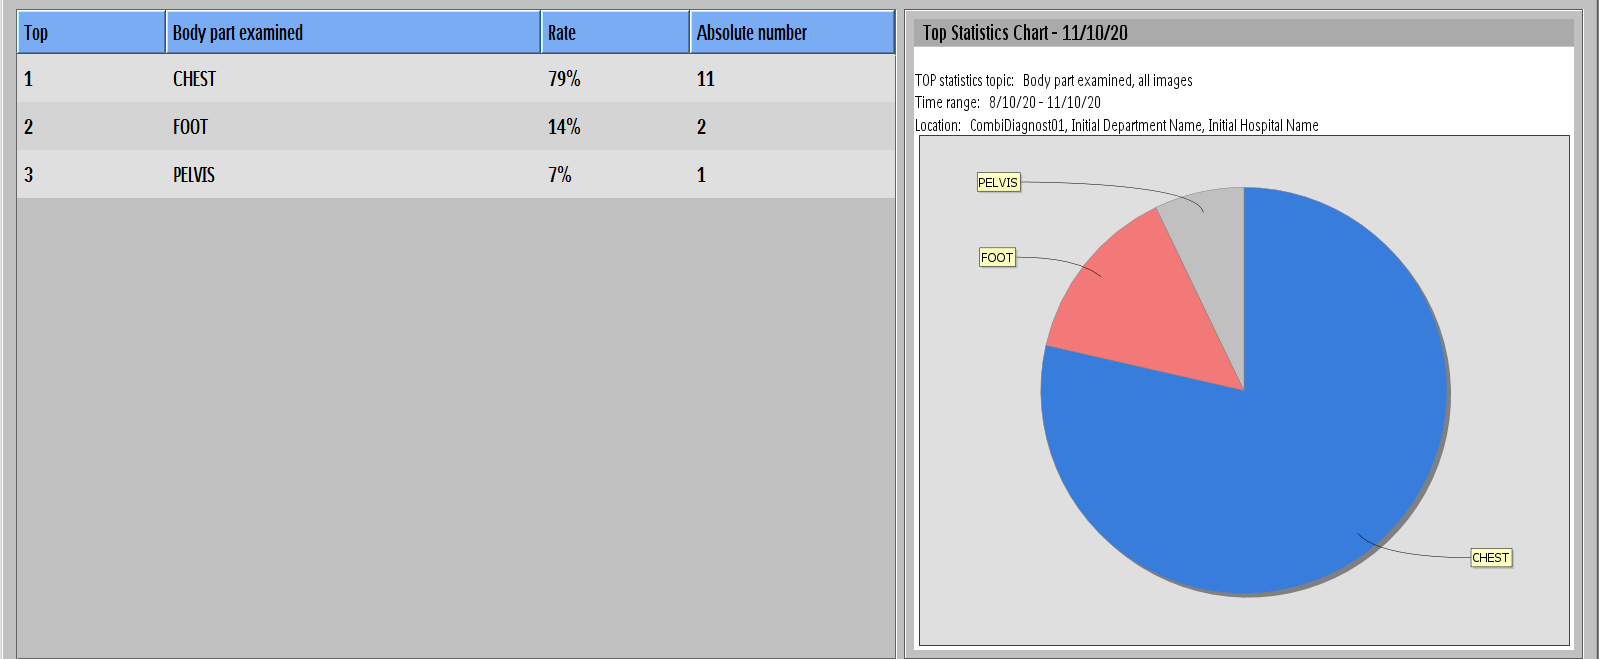
Use this guide to assist you in understanding how to feed the Quality Assurance Tool with input data from clinical routine work. This guide helps you understand what the tool is able to show and how.
Resources
These materials are here to guide and support the use of your DigitalDiagnost R4 system
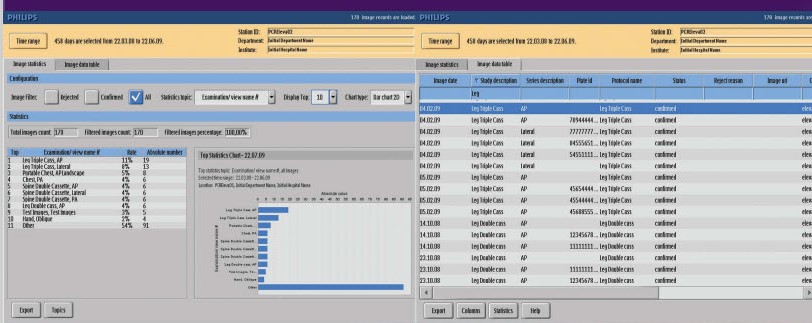
Quality Assurance Tool QSG
The Quality Assurance Tool provides statistical analysis that is used for reporting, quality control, and improving workflow. This eLearning module walks you through how to use the Quality Assurance Tool.